|
Let's Build A Cabin! Before building your cabin, you'll need a plan. You probably will spend time at the site upon which you want to build. You'll make some rough sketches to show how you want it positioned. And note things such as where you want windows and doors. When your notes are sufficient, you'll want to draw a plan. What follows is an example of how you might use HPP (Home Plan Pro) to do so. Suggestion: You may enjoy trying what we do in these notes in HPP. That is, repeat each step in the work space, as it is explained in these notes. This doesn't work well if HPP is full screen, because when you click HPP, these notes will disappear behind the program.
Drag this window as far to the right on your monitor as possible. Drag HPP as far left as you can. Then as the steps in drawing are described, you can click between the workspace and these notes and draw along with us! Note: Check the "Keep Form on Top" check box to keep it always in front. Let's Begin!
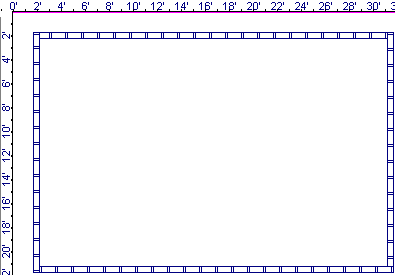
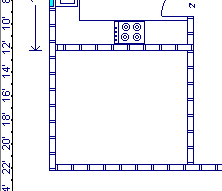
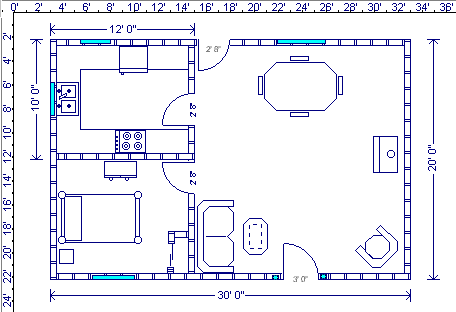
Let's assume the cabin will be 20 by 30 feet. We will begin by drawing an outline of it, often called a footprint.
For greater accuracy, use the arrow (cursor control) keys. Click the mouse, press keys as needed, then click the mouse again to end drawing.
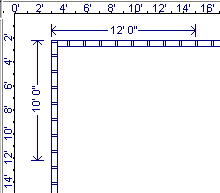
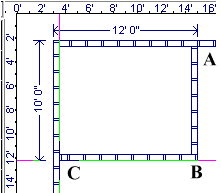
Now you need to draw the other three walls as shown above. It's tricky at first getting another wall tied in correctly to one already drawn. The secret is to draw in a clockwise direction. That is, position the cursor at the right edge of the first wall drawn, click the mouse, then draw down until the Odometers show 20. Then click again. Next draw from the end of the new wall back over to the left. Then finally draw the other vertical wall up. Click here for more about getting corners right.
TIP!
|
|
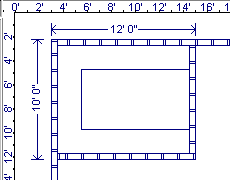
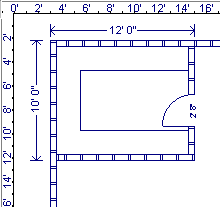
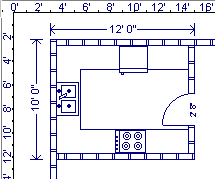
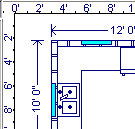
Now let's draw a kitchen in the upper left corner of the plan. Let's say it is to be 12 feet long and 10 feet wide.
Watch the Odometers in the lower left corner of the screen. Click again when the count is 12. Repeat for the other dimension. |
|
|
|
|
|
|
|
|
|
|
|
When you left click on an object, the window closes. Position the object in the plan by moving the mouse or with the arrow keys. |
NOTE: Figures can be resized by using the Plus (+) and Minus (-) keys. If you want to resize an object, do so before positioning it. The figure can be rotated by right clicking the mouse. |
|
|
|
|
|
|
|
|
|
|
|
|
|
|
|
|
|
|
|
|
|
|
|
|
With a little practice, you will find it easy to draw much more complicated plans than this one. Further, if you don't like your results, it's easy to draw a new plan. HPP offers many tools not used here. To explore and discover what each can do for you, right click on a tool of interest. After reading a bit about it, experiment a little. You will soon be master of them all. Here's to a lot of fun |
